
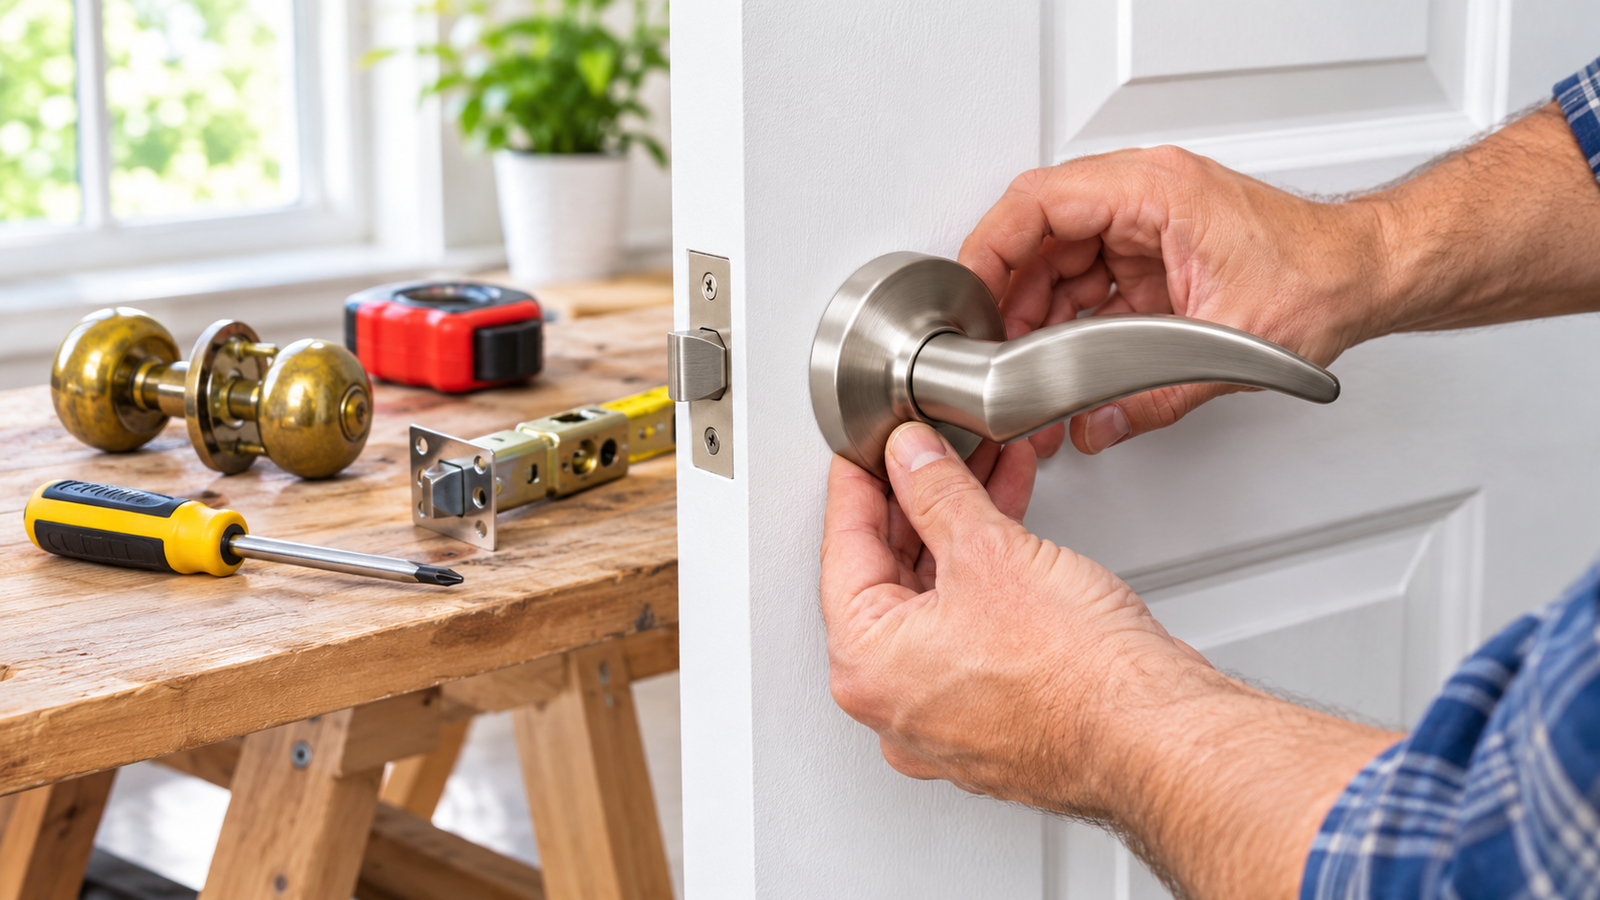
Replacing a door handle might seem intimidating, but it’s actually one of the most satisfying weekend DIY projects you can tackle. Whether you’re upgrading a worn-out interior knob or securing your entryway, knowing how to replace a door handle properly saves you from costly locksmith fees.
(Note: If you are researching how to replace a car’s door handle, that process involves removing interior panels and dealing with complex wiring. This guide focuses strictly on residential interior and exterior doors, which is a much simpler, tool-friendly job.)
With a basic screwdriver and about 30 minutes, you can have a fresh, functional handle installed. This guide covers residential doors: interior bedroom, bathroom, and hallway doors, plus front and back entry doors.
The Quick Version: 7 Steps to Replace a Door Handle
- Identify your current setup (passage, privacy, or keyed entry) and buy a new set with the exact same function.
- Measure door thickness, backset, and cross bore to guarantee the new hardware fits the existing holes.
- Remove the mounting screws and pull the old handle halves apart.
- Take out the old latch and verify that its edge pocket and holes match the new one.
- Install the new latch, ensuring the angled bevel faces the direction the door closes.
- Fit the handle halves around the spindle and tighten the screws evenly (don’t overtighten!).
- Test everything: the handle action, latch retraction, lock, and door closing before you call it a day.
The rest of this article breaks down each step, reveals the tricks for dealing with hidden screws, and covers the situations that trip most people up: front doors, old doors, and swapping a knob for a lever.
How a Door Handle Actually Works
Before you start unscrewing things, it helps to know what you’re looking at. A door handle isn’t just a piece of metal; it’s a simple, elegant mechanical system.
- Handle or Lever: The part you actually grab. Knobs are round; levers are bars.
- Spindle: That square metal rod running through the door. It’s the bridge connecting the inside and outside handles.
- Latch (Latch Bolt): The spring-loaded metal tongue in the door’s edge. The spindle pulls this back so the door can open.
- Strike Plate: The metal loop on the door frame that catches the latch.
- Rose or Backplate: The decorative cover hiding the hole in the door.
- Mounting Screws: The unsung heroes holding the whole assembly together through the door.
- Lock Cylinder/Push Button: The locking mechanism found on privacy and keyed entry sets.
When you push down a lever, the spindle rotates, retracting the latch bolt. A spring inside does the heavy lifting to push it back out when you let go. If your handle feels stiff or floppy, that spring or the spindle alignment is usually the culprit.
Types of Door Handles (Why Function Matters More Than Style)
Style (knob vs. lever) and function (what the handle actually does) are separate choices. Always buy the right function first, then pick a style you like.
| Type | Best For | Locks? | Notes |
|---|---|---|---|
| Passage | Hallways, closets, pantries | No | Opens from both sides; never locks. |
| Privacy | Bedrooms, bathrooms | Yes (inside only) | Has a push/turn button inside and a small emergency release hole outside. |
| Keyed Entry | Front and back exterior doors | Yes (with a key) | Key cylinder outside, thumb turn or button inside. |
| Dummy | Closet doors, double doors | No | Does not turn; works as a static pull only. |
A lever is often easier to use with full hands or limited grip strength, which is why many homeowners choose to change a door handle from a knob to a lever over time.
Tools and Materials You May Need
- Phillips screwdriver: Removes and installs most mounting and faceplate screws. (Always needed)
- Flathead screwdriver or small pry tool: Releases rose covers and detent slots. (Sometimes needed)
- Allen (hex) key: Removes set screws on some modern levers. (Sometimes needed)
- Tape measure: Checks thickness and backset. (Always needed)
- Replacement handle set & latch: The new hardware. (Always needed)
- Pencil: Marks positions if adjustments are required. (Optional)
- Drill, bits, and chisel: Only needed if holes or the latch pocket do not match. (Rarely needed)
- Safety glasses: Protects eyes if you end up needing to drill or chisel. (Recommended)
Pro Tip: If your new set fits the old holes, you will not need to drill anything. Drilling is a last resort, not part of a normal swap.
What to Check Before You Buy a Replacement
Most failed DIY replacements happen because the new set doesn’t match the door. Five minutes of measuring prevents a frustrating return trip to the hardware store.
1. Measure the door and existing hardware:
- Door thickness: Measure the edge of the door. Standard residential doors are commonly 1-3/8 inches (interior) or 1-3/4 inches (exterior).
- Backset: The distance from the edge of the door to the center of the large hole. Residential doors typically use 2-3/8 inches or 2-3/4 inches. Many modern sets include an adjustable latch that fits either.
- Cross bore: The large hole through the face of the door. A common residential size is 2-1/8 inches.
- Edge bore: The smaller hole drilled into the door edge for the latch (commonly 1 inch).
- Latch faceplate: Check its shape (square corner, round corner, or drive-in with no plate) and dimensions.
2. Compatibility Checklist:
- Function: Ensure you aren’t accidentally buying a passage set for a bathroom door.
- Door thickness: If the door is too thick, the spindle or screws might be too short.
- Backset: If this is wrong, the handle will sit off-center.
- Rose coverage: A new rose that is too small will leave the old paint line or hole exposed.
- Handing: Some levers are not reversible and must match the door swing (left or right).
- Existing deadbolt spacing: On exterior doors, there should be a minimum of 5-1/2 inches center-to-center between the handle and deadbolt cross bores to prevent the wood from splitting.
How to Replace a Door Handle Step by Step
Step 1: Identify and inspect the existing handle
Look at both sides of the door. A small round hole with a push button inside means it’s a privacy set. A key slot on the outside means keyed entry. If there’s nothing on either side, it’s a passage set. Open the door and look at the latch in the door edge. Note its faceplate shape and whether it is held in by screws.
Step 2: Remove the old door handle
Keep the door open and stable. If it swings, wedge a folded towel under it. Find the visible mounting screws on the interior rose and remove them. Hold the outside handle with your other hand so it doesn’t crash to the floor. Pull the two handle halves away from each side of the door. Slide the spindle out if it stays in the latch. Finally, unscrew the two faceplate screws on the door edge and slide out the latch.
Tip: Protect the door finish by working slowly. Do not pry against painted wood.
Step 3: How to Change a Door Handle Without Screws (Hidden Mechanisms)
If you don’t see any screws, they are concealed. You will usually find one of these three designs:
- Decorative cover or rose: The visible screws are hidden under a snap-on or twist-off cover. Look for a small notch or seam, slide a thin flathead screwdriver into it, and pry gently to pop the cover free.
- Release slot or detent: A tiny hole or slot on the neck of the handle. Press a small tool (like a thin screwdriver or pin) into it while pulling the handle off.
- Set screw: A small Allen screw on the underside or side of the lever neck. Loosen it with the right hex key, and the lever slides right off.
Warning: Not all concealed-screw handles use the same method. If you know the brand, search the manufacturer’s installation sheet online before you pry. Forcing a cover can crack it or bend the rose.
Step 4: Inspect the existing latch
Before reusing the old latch, check its spring action (the bolt should pop back out smoothly). Look for rust, bent metal, or a stuck bolt. Ensure the new spindle fits the latch’s square opening. If the screw holes in the door edge are stripped, they won’t hold. It’s often easier to just use the fresh latch included with your new set.
Step 5: Install the new latch
Slide the latch into the edge bore. Crucial: The angled (beveled) side of the latch bolt must face the direction the door closes into the frame. If it faces the wrong way, the door will not latch smoothly and will just bounce off the frame. Check that the faceplate sits flush with the door edge, then install the two screws.
Step 6: Install the new door handle
Slide the exterior handle’s spindle through the latch opening. Many sets use a spindle that fits only one orientation, so check that the handle sits level. Hold the handle in place and align the interior half over the spindle. Insert the mounting screws and tighten them evenly, alternating between screws rather than finishing one completely. Overtightening can bind the internal mechanism. Snap on any decorative covers.
Step 7: Install and test the lock
For privacy handles, push or turn the interior lock, close the door, and confirm you cannot open it from the outside. Test the emergency release hole with the supplied pin or a small screwdriver. For keyed entry handles, insert the key, turn the cylinder, and confirm the latch retracts.
Step 8: Test the finished installation
- The handle turns smoothly and springs back.
- The latch retracts fully and extends fully.
- The door closes and clicks into the strike plate without slamming.
- The lock works every time.
- The screws are snug and the handle does not wobble.
Fix: If the handle feels stiff, loosen the mounting screws slightly and retighten them evenly.
How to Replace Different Types of Door Handles
Replace an interior door handle:
Interior replacements are the easiest. Passage and privacy sets use standard prep in most houses, so a new set often drops right into the same holes.
Replace a front door handle:
Front doors add security and weather concerns. Always use hardware rated for exterior use. Check the thickness (often 1-3/4 inches) and the existing deadbolt position. Do not leave an exterior door unsecured during the job. Complete the swap in one session while you are home, and test the lock before relying on it.
Replace a door handle with a lock:
Privacy locks are for convenience; keyed entry locks are for security. Never use a privacy set on an exterior door. On keyed entry sets, if you want the new handle to work with your existing deadbolt key, buy a set that is “keyed alike” or have a locksmith rekey it.
Replace door handles using the same holes:
If you want to reuse the existing holes, match the door thickness, backset, cross bore size, and faceplate shape. If the new rose is smaller than the old trim, you may see an old paint line. A larger rose can hide this. Do not enlarge or drill new holes before checking whether a different model fits the existing ones.
Replace a handle on an old door:
Older doors bring extra challenges. Worn or stripped screw holes can be filled with wood glue and toothpicks or wooden dowels; let them dry, then redrill small pilot holes. Be aware that some older doors have mortise locks (a rectangular lock body inside the door edge), which are not interchangeable with standard cylindrical sets without major door modification. Also, homes built before 1978 may have lead-based paint; avoid sanding or scraping old paint without proper safety precautions.
Change a door handle to a door knob (or the reverse):
A swap is usually possible when both sets use standard residential prep with the same cross bore, backset, and edge bore. Just ensure the new handle has the same function (passage, privacy, or keyed entry) and the door thickness fits.
Can You Replace a Door Handle Without Changing the Lock?
Sometimes. It depends entirely on how the lock is built:
- Separate deadbolt: You can change the handle and leave the deadbolt completely alone.
- Integrated lock cylinder in the handle: You can replace only the cylinder if the manufacturer sells a compatible one, but most people replace the whole set for a fresh look.
- Mortise lock: The handle and lock share a single body, so replacement requires matching the exact internal dimensions.
If your only goal is to keep the same key, buy a new set that matches the existing keyway or have it rekeyed.
Common Door Handle Installation Problems and Fixes
| Problem | Possible Cause | What to Try |
|---|---|---|
| Handle feels loose | Loose or stripped mounting screws. | Tighten screws. If holes are stripped, repair with wooden dowels and glue, or use slightly longer screws. |
| Handle does not return | Spring issue or incompatible parts. | Remove and reinstall; verify all parts are from the same matching set. |
| Latch does not retract | Spindle not seated or faulty latch. | Reseat the spindle firmly; try a different latch if the square hole is worn. |
| Door will not close | Latch bevel faces the wrong way or strike is misaligned. | Flip the latch around; adjust the strike plate on the frame. |
| Handle does not fit existing holes | Wrong backset or cross bore. | Re-measure carefully; get an adjustable latch or a matching set. |
| Hidden screws not found | Cover or release mechanism is tricky. | Check the manufacturer’s specific instructions for your model online. |
Safety Tips
- Keep the door stable and wedged open while you work.
- Use the right size screwdriver to avoid stripping the screw heads.
- Never force decorative covers or retaining clips; they will break.
- Protect the door finish from accidental scratches with your tools.
- Always test the lock thoroughly before you rely on an exterior door for security.
- Call a professional if the exterior door, frame, or lock hardware is damaged or does not fit properly.
Frequently Asked Questions (People Also Ask)
How do you replace door handles?
Remove the mounting screws, pull off both handle halves, and take out the latch. Install the new latch with the angled side facing the closing direction, attach the new handle halves through the spindle, tighten the screws evenly, and test the latch and lock.
Is it easy to replace a door handle?
Yes, for most people. If the new set matches the old one, it is a beginner-friendly job that needs a screwdriver and about 15 to 30 minutes. It only gets harder with mismatched hole sizes, old mortise locks, or damaged doors.
How to replace door handles on old doors?
Measure thickness, backset, and bore sizes first. Check whether the door uses a mortise lock. Repair worn screw holes with wooden dowels and glue, and use hardware that fits the existing prep rather than drilling new holes.
How do you replace an outside door handle?
Use an exterior-rated keyed entry set that fits the door’s thickness and backset. Remove the old handle from the inside, install the new latch and handle, and test the key before relying on the door for security.
What are the three main types of door handles?
Passage handles (do not lock), privacy handles (lock from the inside for bedrooms/bathrooms), and keyed entry handles (lock with a key for exterior doors). Dummy handles are a fourth option for pull-only uses.
How to install a new door handle?
Install the latch in the door edge, slide the spindle through it, attach the handle halves on both sides, and tighten the screws evenly. Then test handle movement, latch retraction, and lock operation.
How to change a lever door handle?
Remove the visible screws or hidden set screw, pull the lever off, and install the new lever on the spindle. Check the handing if the lever is not reversible, tighten the screws, and test.
Can I replace a door handle without changing the lock?
Yes, if the lock is a separate deadbolt. If the lock is built into the handle, you generally need a compatible replacement set or cylinder.
Is it easy to fit a door handle?
It is straightforward on a prepared door with standard bores. Fitting a handle on a door with no holes is much harder because you must drill the cross bore and edge bore accurately.
How to fix door handle on door?
If it is loose, tighten the mounting screws first, then check for a loose set screw on a lever. If screws spin without gripping, the holes are stripped; repair them with wooden dowels and glue.
Can you change a door handle to a door knob?
Often yes, when both use standard prep with matching cross bore, backset, edge bore, and function. Check the rose size and latch type, since not every knob and lever are interchangeable without minor adjustments.
How does a door handle work?
Turning the handle rotates a square spindle that retracts the spring-loaded latch from the strike plate on the frame. Releasing the handle lets the internal spring return the latch to its extended position.
Final Thoughts
Replacing a door handle is mostly a matching game. If you know the function, measure the door thickness and backset, and check the cross bore and latch faceplate, the installation itself is simple. Take your time with hidden screws and exterior doors, follow the manufacturer’s instructions for your specific model, and test every function before you finish. If the door, frame, or lock hardware is damaged, bring in a carpenter or locksmith rather than forcing a fit.